Quickstart
Walk through the fundamentals concepts, integrations, and core services provided in Martis.
Creating an Account
To start using our services, merchants require an activated account on our platform. Please follow these steps:
- Sign up on the Martis Dashboard.
- Specify a Business Name
- Complete the Business Information form at Settings → Business Information.
- Contact our assigned team for your business to verify required business documents.
- Once this process has been done, your account will be activated.
Accounts have various features. Integrating our APIs could be done after the account is activated.
To learn more about our account features, read the Accounts Core Concept section.
API Key Integration
Our core service uses API keys for authentication. Please follow these steps to start using our Core API service:
-
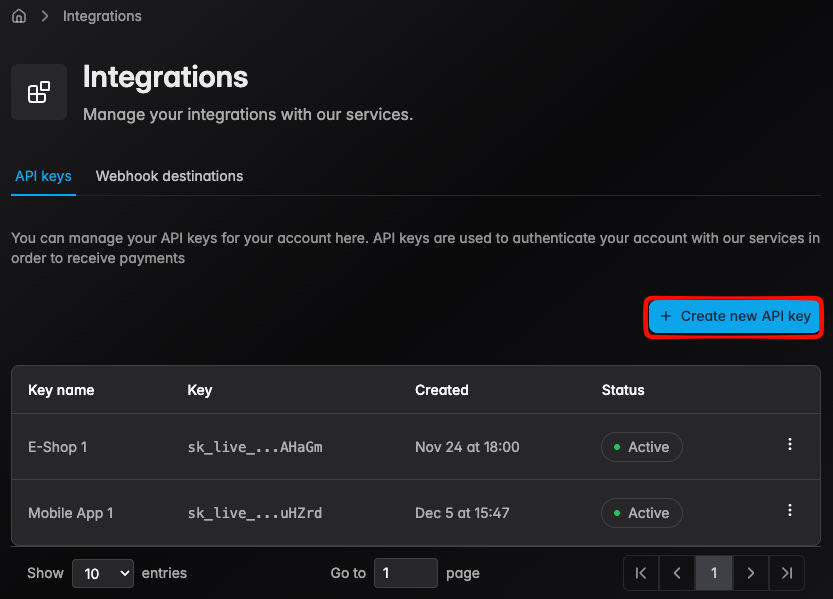
Navigate to Integration → API Keys
-
Click the Create new API key
- Enter a descriptive name, then click Create key
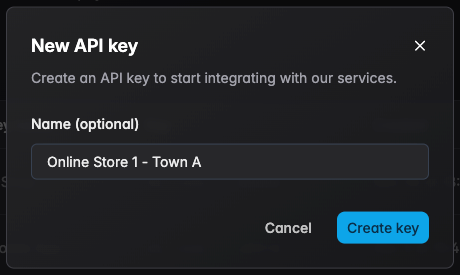
- Copy the secret key and store safely — it is displayed only once

To learn more about how our API keys work, read the API Keys Core Concept section.
Core API
Martis's main API service provided for each merchant's account. Each endpoint provided require authentication via the Authorization header using a Bearer token.
Every POST endpoints or any actionable PUT updates within Martis is trackable through webhooks. To learn more about webhooks, read the Webhooks Core Concept section.
These tokens are secret tokens provided from the API key integration. To apply this Bearer token, please follow these steps:
-
Navigate to the provided API reference page
-
On any given endpoint, enable the required authentication into
ApiKey
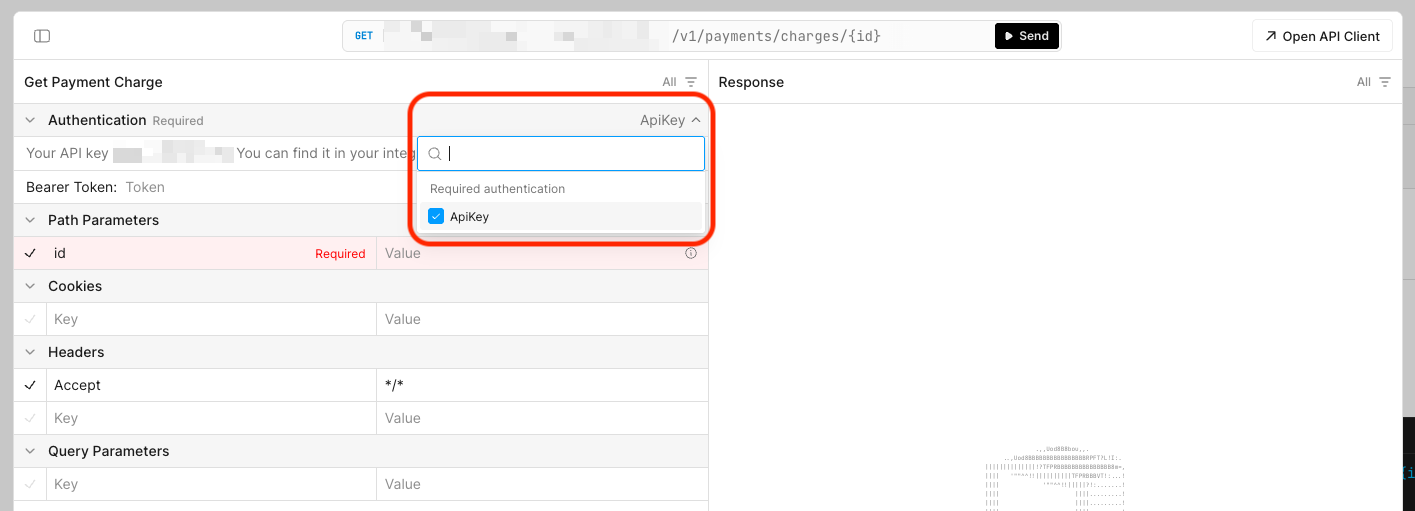
- Paste the secret key after creating a new API key

A 401 Unauthorized response indicates an invalid or missing API key.

To learn more about how authentication works in our platform, read the Authentication Core Concept section.
Next Steps
The quickstart guide has covered the basics of integrating with our platform. To continue, you may follow along learning more about these topics to understand details about each feature of our services.
| Topic | Description |
|---|---|
| Receive Payments | Manage transactions and payment flows for your customers |
| Send Money | Transfers, disbursements, and deposits for a flexible delivery |
| Track Events | Monitor real-time events and respond to operations from the platform |
| Account | Learn about account features, service options, managements, and more |